Selling porcelain online: a photo and condition checklist
Give each condition note a location and a photograph. Use this checklist to prepare a porcelain listing or decide what to ask before buying.
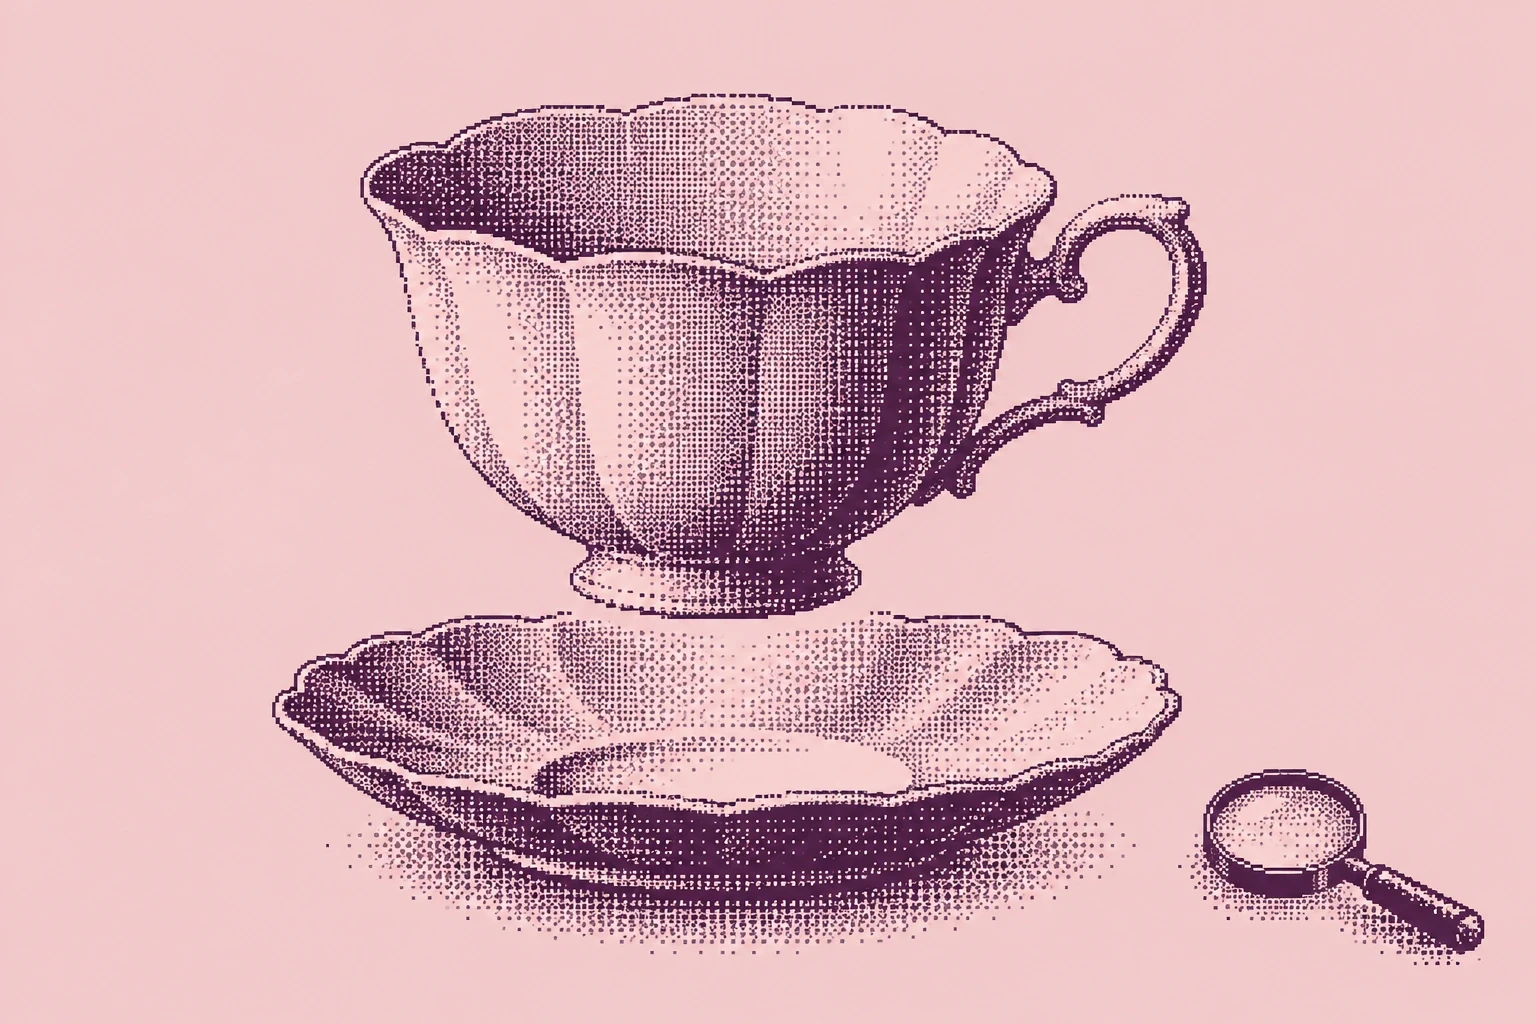
A porcelain listing should let someone connect the description to the object in the photographs. If the text mentions a mark beneath the base, a worn rim or an old repair, the reader needs to find that detail and understand where it sits.
Start with a simple record: what is included, what you can see, which photograph shows it and what remains unknown. The worksheet below brings those answers together. Sellers can fill it in before writing a listing; buyers can use the same fields to spot a missing answer.
This is a visual documentation guide. It does not establish a piece’s maker, age, authenticity, value or suitability for food use, and it is not a professional conservation condition report.
In this article
Plan the photographs around the questions
First give the object a short working label, such as “blue floral cup and saucer.” Use the same label in your notes and image filenames. For a group, identify the separate pieces so a close-up of one base cannot be mistaken for another.
Build your photo set around these questions:
- What is included? Show the entire object or group, including any lid, saucer or stand included in the listing.
- What does the shape look like? Add views from the other sides. For a vessel, show the opening and interior where safely accessible; for a figure, include the back.
- What is underneath? Photograph the base, foot and any lettering or symbols, if the object can be positioned safely.
- Where is the detail? Pair a close-up with a wider view that lets the reader locate it.
- How large is it? Include written dimensions and, where practical, a photograph with a readable ruler.
ICOM’s Object ID checklist recommends overall views, close-ups of identifying details, damage and repairs, and a scale where possible. Its purpose is object identification and recovery; the listing workflow here is our own adaptation, not an ICOM marketplace standard. ICOM Object ID checklist
There is no fixed photo count that makes a listing complete. A plain plate and a covered, two-handled vessel have different surfaces to explain. Number your images, then check whether each written observation points to an image that actually answers the question.
Make reflective surfaces readable
Use a plain background and even light. Take a wider view before moving in for a detail. If a bright reflection covers the area you want to show, change the camera or light position and take another image. Keep both views when they reveal different information.
Check focus at full size. A sharp pattern elsewhere in the frame does not make the backstamp readable. For a fine line or a small area of loss, include enough surrounding decoration or shape to connect the close-up to the wider view.
Keep the original files. Avoid filters, retouching or generated image edits that remove wear, alter lettering or make a surface appear more uniform. A numbered crop can help readers find a detail, provided the uncropped photograph is also available and the crop is labelled.
These are practical documentation suggestions. A photograph may still leave uncertainty about colour, depth or the cause of a visible feature.
Write what you observed and what you know separately
“Good condition” leaves the reader to guess what was checked. Give each relevant feature a location and a plain description: a missing section at the rim, a dark line beside a handle, rubbing along a gold-coloured border, or a patch that looks different from the surrounding surface.
If a word such as “hairline,” “crazing” or “restoration” would require a diagnosis you cannot support, describe the visible feature instead. Do not rename an uncertain line a harmless firing mark simply because that explanation sounds reassuring.
Repair history needs its own answer. CCI identifies adhesive residues, join lines, metal staples or rivets, fills and overpainting as possible repair evidence and recommends documenting repairs. These signs are a reason to record or investigate an area; this worksheet does not turn them into a remote authentication test. CCI ceramic and glass care guidance
Choose wording that reflects your actual knowledge:
- “Repair history unknown” if you do not know it.
- “A previous owner reported a repair to the handle; no treatment record is available” if that is the information you received.
- “Repair documented in the accompanying treatment record” only if that record exists and supports the statement.
An area you have not examined should remain an open question. If the underside could not be photographed safely, say so. Avoid a blanket “no damage” statement based on a few attractive views.
Record the mark before interpreting it
Photograph a maker’s mark, backstamp, impressed number or inscription close enough to read, and show its position in a wider image. Copy the visible characters literally. Use “[unclear]” for anything you cannot read instead of filling in a likely name.
Keep a separate field for a proposed attribution and the reference behind it. A readable mark photograph and a confident identification are different steps in your research. If you have no supporting reference, leave the maker or date unresolved.
For sets, note which component carries each mark. Do not assume that a marked saucer identifies an accompanying cup without checking both.
Give dimensions that someone can use
State the dimension and its unit: overall height, diameter, or width and depth where relevant. ICOM’s checklist explicitly asks for both. ICOM measurement guidance
Explain the endpoints of your measurements. Does height include the lid? Does width include the handle or spout? Are you measuring the opening or the widest part of the body? Record separate dimensions for separate pieces when that matters to the listing.
Use one unit consistently. If you add a conversion, label it approximate and avoid implying more precision than the original measurement supports. A ruler in a photograph helps illustrate scale, but write the result out too so the reader does not have to estimate it from the image.
Copy the observation to photo worksheet
Fill this in before composing the description. Repeat the observation entry for every feature you need to disclose. “Unknown,” “not inspected” and “not applicable” are useful answers when they are accurate.
OBJECT RECORD
- Working label:
- Date observed:
- Observed in person or from supplied photographs:
- Parts included:
- Accessories shown but not included:
PHOTO INDEX
- Whole object or group — image ID:
- Other sides — image IDs:
- Opening and interior, if applicable — image IDs:
- Base and foot — image IDs:
- Separate parts — image IDs:
- Unavailable views and reason:
MARK RECORD — repeat for each marked component
- Component and location:
- Characters copied exactly, with unclear areas labelled:
- Wider-view image ID:
- Close-up image ID:
- Proposed maker or date, if supported:
- Reference supporting that attribution, or unknown:
OBSERVATION ENTRY — repeat as needed
- Observation ID:
- Component and exact location:
- Visible feature in plain words:
- Approximate size and unit, if safely measurable:
- Wider-view image ID:
- Close-up image ID:
- Known history and the source of that information:
- Unresolved question:
DIMENSIONS
- Height and unit; lid or stand included:
- Width or diameter and unit; endpoints:
- Depth and unit, if relevant:
- Separate component dimensions:
LIMITS AND FINAL CHECK
- Repair history known, reported by someone else, or unknown:
- Areas not inspected:
- Do the photo numbers still match after upload:
- Does every statement of condition have supporting evidence:
Turn one worksheet entry into a listing sentence
The following is a hypothetical writing example. It does not describe an examined object, and the image numbers are placeholders.
Worksheet entry: observation A; cup exterior beside the lower handle attachment; short dark line; not measured; wider view 04; close-up 05; repair history unknown.
Listing sentence: “A short dark line is visible beside the lower handle attachment, shown in the wider view 04 and close-up 05. It has not been measured, and its cause and repair history are unknown.”
That wording gives the reader a place to look and a question to resolve. It does not claim that the line is a crack, a repair or a manufacturing feature.
For a buyer, the next question could be: “Could you share another in-focus view of the line beside the handle and any information you have about repairs in that area?”
Keep the object safe while documenting it
Plan the views before handling the piece. CCI advises minimizing handling, supporting the object from underneath, avoiding lifting by handles or spouts, and watching for loose lids. If a view would require risky positioning, leave it unphotographed and record the limitation. CCI handling guidance
Do not clean, scrape, tap or stress a piece to settle an uncertainty for this checklist. If the object appears unstable or a suspected repair needs assessment, seek a conservator’s advice before further handling.
Check the listing as a reader
Open the uploaded photographs at their available resolution. Can you find each mark and condition note? Do the dimensions make sense? Is it clear which parts are included and which questions remain unanswered?
When comparing listings, use the same worksheet to record what each one actually shows. An unanswered field gives you a specific question to ask before deciding.